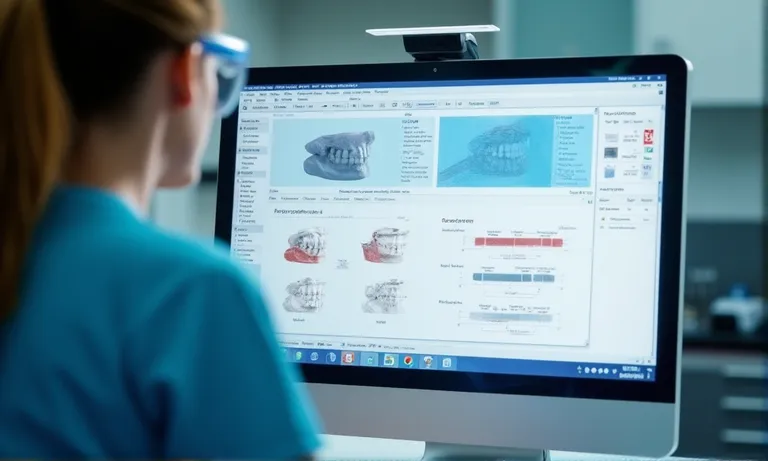
Submitting STL files for crown & bridge cases seems simple—until unclear margins, mislabeled scans, or missing Rx notes trigger avoidable delays.
Labs struggle to proceed when scan data is distorted, documentation is vague, or uploads are lost in email threads.
At Raytops Dental Lab, we help clients prevent these errors by standardizing STL submission from the first scan to the final upload, ensuring smoother workflows and fewer remakes.
To smoothly submit STL files for crown & bridge cases:
- Ensure clear margin capture and complete scan coverage
- Export in the correct STL format, with appropriate resolution
- Use structured file naming for traceability
- Upload via HIPAA-compliant portals or secure file transfer systems
- Provide detailed documentation, including case notes and scan info
These steps help avoid misinterpretations, reduce remakes, and streamline the lab workflow.
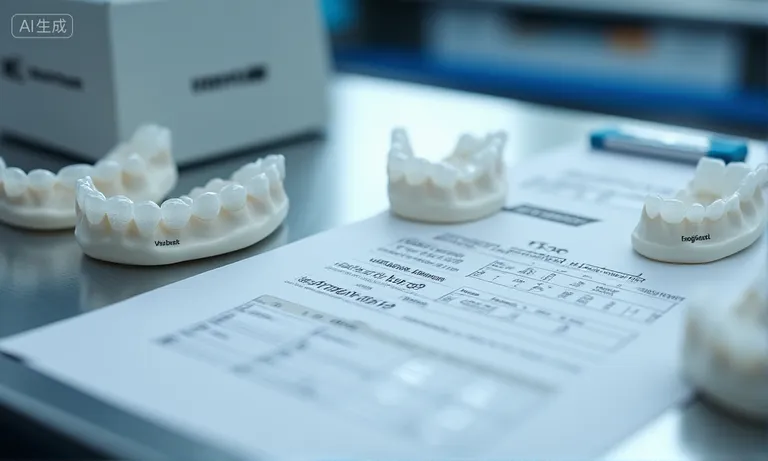
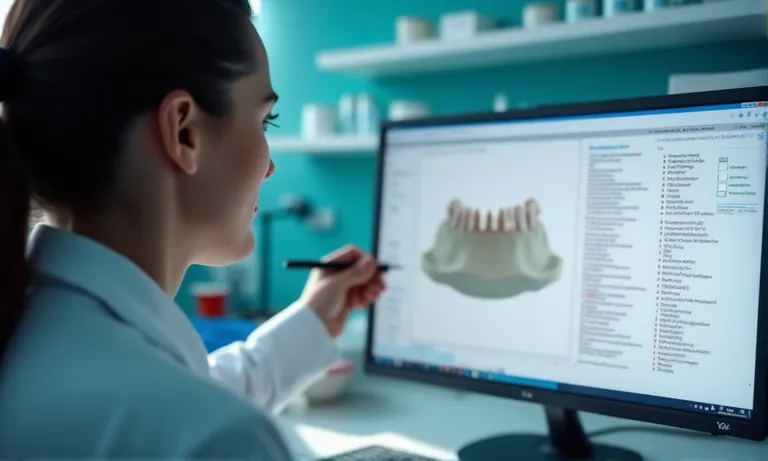
What scanning principles ensure a clean STL for lab use?
Capturing a clean STL scan starts with margin clarity and ends with data consistency. Ensuring moisture-free scanning, full occlusal information, and avoiding common artifacts significantly reduces misinterpretation and remakes. A good STL is not just high-resolution—it’s clinically clean, technically traceable, and immediately manufacturable.

Dental-Scan-Margin-Clarity
Capture margin lines clearly without moisture or blood
For dental labs, indistinct margins are the leading cause of case rejection or delay. A scan with unclear or contaminated margins cannot be accurately finished, no matter how advanced the CAD/CAM system.
- Always dry the preparation site thoroughly before scanning
- Retract soft tissue using proper isolation techniques
- Avoid scanning through fluid pools or gingival bleeding
- Use high-resolution intraoral scanners with margin enhancement capability
Ensure proper occlusal clearance and opposing scans
Without full occlusal data and opposing arch clarity, restorations often require chairside adjustment or full remakes. Labs rely on this data to build functional, balanced restorations.
- Include complete opposing arch scans
- Verify inter-arch distance during bite capture
- Avoid partial or incomplete occlusal records
- Check for bite distortion due to scanner pressure or patient movement
Avoid artifacts: scan stitching errors, overlaps, or missing data
Digital artifacts in STL files create uncertainty in margin position, surface texture, or contact points, leading to clinical frustration and costly refits.
- Scan in continuous, smooth sweeps to reduce stitching gaps
- Avoid over-scanning areas to prevent data overlap
- Review scan in real-time to identify missing areas
- Update scanner software to the latest calibration profiles
✅ Margin clarity depends on tissue management and scan control – TRUE
Accurate, dry, and unobstructed margins are essential for lab interpretation. Fluid or soft tissue interference introduces ambiguity into the STL model.
❌ High-resolution scanners automatically produce clean margins – FALSE
Scanner quality helps, but clear margins still rely on clinical isolation, operator skill, and environment control—not resolution alone.
How should STL files be exported and named correctly?
A clean scan loses its value if exported in the wrong format or saved under a confusing name. Binary STL exports and standardized file naming help dental labs manage cases efficiently, reduce mix-ups, and maintain traceability across systems and teams.

STL-File-Naming-Dental-Case
Export binary STL format to reduce size and maintain accuracy
Binary STL files are smaller and more stable than ASCII versions, with faster uploads and reduced corruption risk.
- Always choose binary format before exporting
- Avoid compressing STL files into zip unless requested
- Ensure export settings are set to preserve full resolution
- Test exported files by opening in viewer before upload
Use naming conventions that clarify arch, date, and case type
Proper naming avoids delays caused by confusion, file duplication, or technician misidentification. A structured approach prevents production hold-ups.
- Start with clinic or patient ID (no full names)
- Add scan date in YYYYMMDD format
- Include arch: “U” (upper), “L” (lower), or “B” (both)
- Mention case type: “crown”, “bridge”, “temp”, etc.
- Keep file extensions (.stl) consistent and unchanged
Example: CLN1234_20250701_U_crown.stl
Avoid renaming files after scanner export to maintain traceability
Unexpected renaming disrupts digital workflows and increases remake risks. Consistency from scan to upload is key.
- Save and upload files exactly as exported
- If renaming is required, follow approved structure
- Avoid adding version tags like “final” or “fixed”
- Sync naming with Rx and photo files for case alignment
Consistent export settings and clear file names reduce downstream confusion, especially when handling multiple cases per day. To help your team standardize, download our STL file naming checklist.
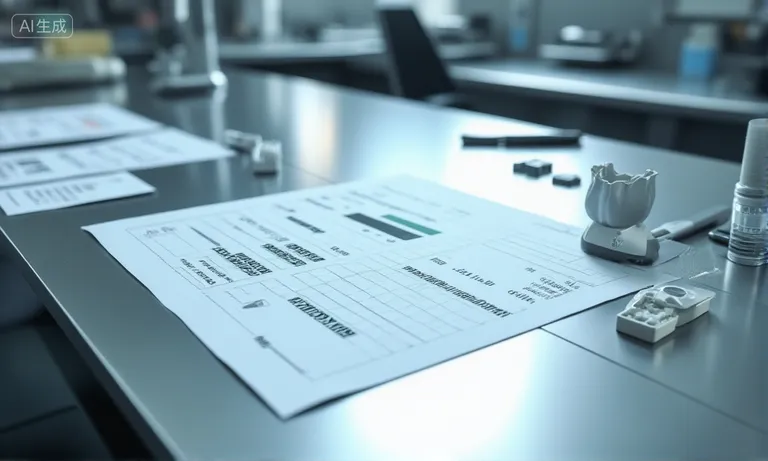
What submission methods are reliable for digital crown & bridge cases?
A structured, secure file submission method ensures STL data arrives intact, traceable, and ready for immediate production. Labs rely on consistent folder organization and upload confirmation to prevent delays or data loss.
Digital-Case-Submission-Dental-Lab
Upload via HIPAA-compliant portal or encrypted shared drive
Public cloud drives or email attachments increase the risk of file corruption or privacy violations. Choosing compliant tools is essential for secure digital collaboration.
- Use HIPAA-compliant platforms (e.g., Medportal, Encrypted Dropbox, WeTransfer Pro)
- Avoid public Google Drive or email uploads for patient files
- Confirm encryption standards meet local data regulations
- Assign upload access only to authorized staff
Confirm folder structure: scan, bite, photos, Rx
Consistent folder structures allow labs to locate files quickly and avoid mismatches across STL, photo, and Rx components.
| Folder Name | Content Type | Example Files |
|---|---|---|
| Scan | Upper, lower arches | CLN1234_20250701_U_crown.stl |
| Bite | Bite registration | bite_scan_20250701.stl |
| Photos | Intraoral, shade | CLN1234_shade_intraoral.jpg |
| Rx | Written prescription | Rx_CLN1234.pdf |
- Create folders before uploading
- Label consistently across all file types
- Avoid mixing multiple cases in one upload batch
- Keep case-level organization persistent across orders
Send upload confirmation or file checksum to verify integrity
Without confirmation, labs risk delays due to missing files or corrupted uploads. A simple check can prevent costly misunderstandings.
- Confirm with a quick email or portal message after upload
- Provide a list of uploaded files with timestamps
- Use checksum tools (MD5/SHA-256) to verify file integrity if available
- Request lab acknowledgment of receipt before marking case as “sent”
✅ HIPAA-compliant portals help prevent data breaches – TRUE
Using encrypted, compliant platforms minimizes patient data exposure and aligns with industry best practices.
❌ Emailing STL files directly is acceptable for all cases – FALSE
Standard email lacks encryption and is prone to file truncation or spam filtering, making it unreliable for case-critical data.
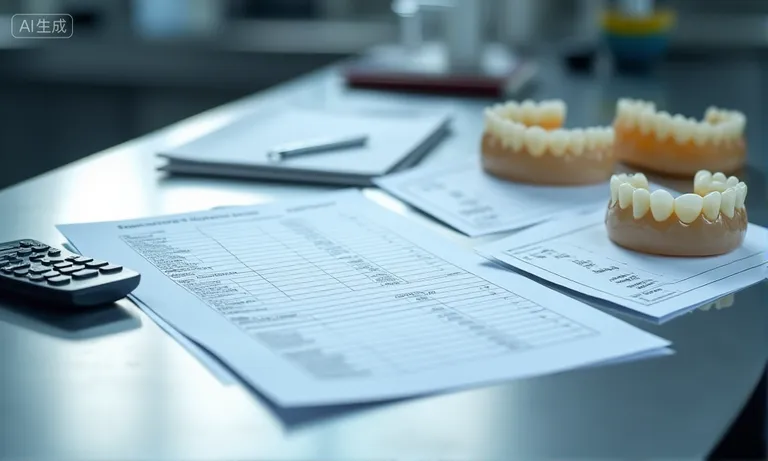
What documentation should accompany STL files to reduce interpretation errors?
STL files alone rarely tell the whole story. Clear documentation—like detailed Rx forms and relevant visuals—helps dental labs reduce interpretation errors, shorten turnaround time, and deliver restorations that match expectations the first time.
Dental-Rx-Accompanying-STL-Documentation
Include detailed Rx: material, margin type, shade, connector
An unclear prescription is one of the top causes of delay or misfabrication. A detailed Rx bridges the communication gap between clinic and lab.
- Specify restoration material (e.g., full zirconia, layered e.max)
- Indicate margin type (chamfer, shoulder, feather edge)
- Define shade and brand system used (e.g., Vita 3D Master)
- For bridges: list connector dimensions, pontic design, or specific anatomical requests
- Ensure digital Rx matches physical scan details
Provide scan-related screenshots or annotated diagrams
Images often clarify what words cannot. Supplementing STL files with visuals ensures technicians understand case-specific features.
- Include intraoral photos showing margin line or prep clearance
- Send screenshots highlighting scan areas of concern
- Annotate occlusal interferences or limited clearance zones
- Share photos of adjacent or opposing dentition for shade context
Note implant details, scan body info, or unique case needs
Special cases require special instructions. Missing implant info often causes delays or remakes.
- Include implant system and platform (e.g., Straumann RC, NobelActive NP)
- Specify scan body brand and part number
- For temporaries or custom abutments: list emergence profile or angulation limits
- Call out non-standard requests like “no glaze,” “extra clearance,” or “cement gap”
The more context you provide, the fewer assumptions are made during fabrication. Incomplete documentation often leads to questions, delays—or worse, remakes. Providing clear, structured, and consistent documentation ensures better outcomes for both sides.
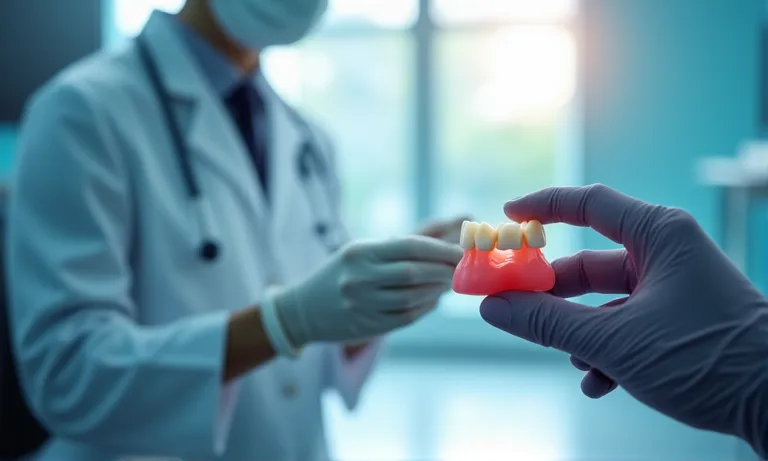
How can improper STL submission lead to remakes—and how to avoid them?
Remakes are costly for everyone. Incomplete, mislabeled, or distorted STL files are a leading cause. Identifying recurring submission issues—and building a feedback loop to prevent them—reduces stress, delays, and material waste for both clinics and labs.
STL-Remake-Feedback-Dental-Lab
Common STL mistakes: flipped arches, inverted bite, trimmed margins
The most frequent remake causes are structural issues in the STL file itself—errors that prevent proper restoration design.
- Upper/lower arches scanned but misassigned
- Bite registration inverted or missing
- Margin lines trimmed too aggressively
- Over-trimmed models with missing reference points
- Files exported without scan orientation metadata
Lab-side checklist to identify incoming scan issues
A structured internal checklist helps the lab intercept errors before proceeding to design or fabrication.
- Confirm scan file matches prescription arch
- Compare margin visibility with expected prep geometry
- Validate opposing bite contact with occlusion preview
- Check for scan artifacts like floating data or surface gaps
- Flag anomalies back to the clinic before design starts
Establish a feedback loop for repeated STL errors
One-time issues are easy to fix. Repeated mistakes need a collaborative system for correction and tracking.
- Track remake cases linked to STL input issues
- Tag error types in internal case records
- Communicate with clinic/tech via annotated screenshots
- Offer short-case reviews for recurring issues
- Update STL submission guide based on real case patterns
Remake prevention is not a single fix—it’s a system. If you’re seeing recurring adjustments or returns, let’s improve upstream clarity together. Request case evaluation support to reduce guesswork and remakes across the board.
Conclusion
STL submission quality directly shapes crown & bridge success. From the moment a scan is captured to the second it’s uploaded, every detail—margin visibility, file name, folder structure, or Rx note—can either support or undermine the case. By standardizing digital handoffs, Raytops Dental Lab helps clinics reduce confusion and remakes across the workflow.
- Proper submission begins with clear margin capture and error-free scan principles that avoid moisture, artifacts, and occlusal distortion.
- Files should be exported in binary STL format with consistent, structured naming that reflects arch, date, and case type without renaming conflicts.
- Labs rely on secure submission methods like HIPAA-compliant portals and organized folders to receive files intact and traceable.
- Supporting Rx forms, reference images, and implant details reduce lab-side guesswork and align expectations for esthetics and function.
- By addressing common STL file mistakes and enabling feedback loops, clinics and labs can minimize repeat errors and streamline design turnaround.
Need help reviewing your STL submission process? Connect with Raytops Dental Lab to receive case-ready guidance and ensure every scan arrives ready for success.