Submitting inlay or onlay cases digitally can streamline turnaround time and improve fit—but only if the case data is complete and clearly organized. Many delays and remakes stem not from clinical issues, but from missing occlusal records, vague restoration details, or inconsistent file naming. This guide walks through every key element your lab needs for accurate, efficient fabrication—from scan submission to best practices for consistent digital workflows.
To submit an inlay or onlay case digitally, clinics should provide high-resolution scans (STL or PLY) with clear margins, opposing and bite scans, restoration type and material, and clearly organized file folders. This ensures accurate lab modeling and reduces delays or remakes.
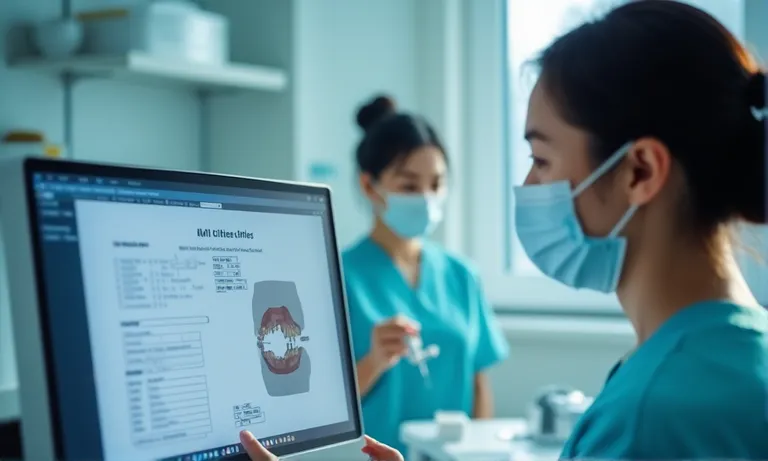
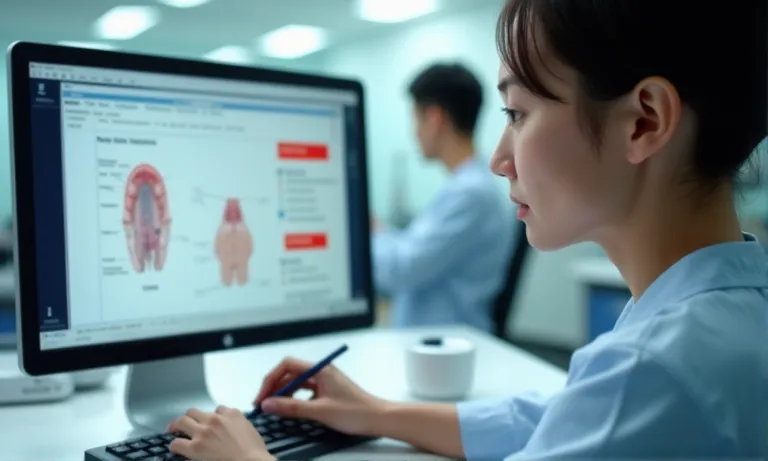
What Pre-Submission Data Should Be Provided for Accurate Fabrication?
Accurate and complete data is the foundation of a successful inlay or onlay case. From a dental lab’s perspective, missing or unclear inputs can delay production or compromise restoration fit. By submitting the right information upfront, clinics ensure fewer remakes, faster turnaround, and more predictable outcomes.
Digital-onlay-case-submission-data-checklist
Intraoral Scans (STL/PLY) with Clear Margins
The digital scan is the foundation. Labs require:
- High-resolution STL or PLY format, uncompressed, with no stitching errors.
- Clear margin visibility, especially on proximal and occlusal surfaces.
- Full arch or quadrant scan, depending on occlusion registration.
Incomplete or unclear margins are the most common reason for delays or case rejection on our end.
Bite Registration and Occlusal Reference
Proper occlusion is critical for functional fit. We recommend:
- Digital bite registration scan in centric occlusion.
- Opposing arch scan to define occlusal relationship.
- Buccal bite view, especially in quadrant-only scans.
This ensures the restoration seats without premature contacts or open contacts.
Case Photos and Shade Info
While less critical for onlay/inlay than for anterior esthetics, photos help in:
- Evaluating translucency when layering composites or ceramics.
- Assessing existing dentition shade, if partial esthetics are a concern.
- Cross-verifying shade tabs, especially under natural light.
For shade-sensitive materials like e.max or hybrid ceramics, even posterior onlays may benefit from photographic references.
Restoration Type, Tooth Number, and Material Selection
This seems basic but is often missed or unclear. Please include:
- Exact tooth number (FDI or Universal) clearly indicated.
- Restoration type (onlay or inlay) and coverage extent if relevant.
- Requested material (e.g., e.max, zirconia, hybrid resin).
We also appreciate knowing if the restoration is a temporary, diagnostic, or final case—this affects our workflow.
✅ Complete case data leads to faster turnaround and fewer remakes – TRUE
Clear scans, occlusal info, and case details reduce lab-side guesswork and speed up delivery.
❌ All that matters is the STL scan – FALSE
Scans alone, without bite, material, or indication data, often lead to incorrect contacts, margin misinterpretation, or esthetic mismatch.
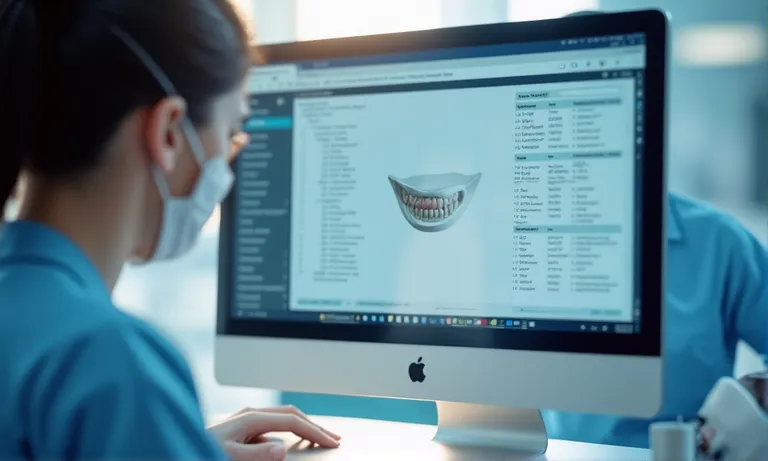
How to Prepare and Organize Files for Efficient Lab Submission
Even with perfect scans, disorganized files can lead to production delays or case confusion. From the lab’s perspective, clear file structure and consistent naming save valuable time in validation and modeling. Clinics that systematize their submission process tend to experience smoother, faster workflows—especially when working across multiple cases or locations.
Dental-digital-case-file-organization-folder
Margin Marking and Restoration Classification
To reduce misinterpretation during modeling, labs benefit from:
- Pre-marked margins, especially when using platforms like 3Shape or Exocad.
- Restoration classification labeled clearly in prescription or case form:
- Inlay vs onlay
- Buccal/lingual coverage indicated
- Any additional cusp coverage noted
When margin marking is left ambiguous, we often need to contact the clinic for clarification before modeling can proceed.
Indicating Onlay vs. Inlay Coverage Areas
Onlays and inlays differ not just in shape—but in margin design, occlusal interface, and material choice. Please specify:
- Coverage zone (e.g., MOD, buccal cusp, lingual ridge)
- Whether partial or full-cusp restoration is intended
- If overlay-style or conservative inlay prep was used
A single sentence in the case notes clarifying this can prevent functional or esthetic misalignment.
Special Instructions: Contacts, Occlusion, Relief
Optional notes can guide nuanced adjustments:
- Contact tightness preference (e.g., light, tight, adjust chairside)
- Relief areas (e.g., leave clearance for temp cement escape)
- Occlusion refinements, especially if post-treatment equilibration is planned
This guidance helps us deliver a restoration closer to seat-ready, especially in digital-only workflows.
File Naming, Folder Organization, and Compression
We recommend the following for consistency:
- Use clinic or patient initials + tooth number as filenames (e.g., SM_16_onlay.stl)
- Compress folders into
.zipformat, not.rar - Include:
STL/PLYscan files- Bite and opposing scans
- Case notes or prescription
- Photos if applicable
Consistent structure allows our intake team to process cases within minutes—not hours.
Efficient file prep isn’t just about internal order—it directly improves your lab turnaround, model quality, and seat-time reliability.
Want our standard submission folder template? We’re happy to share the format we use with long-term digital partners.
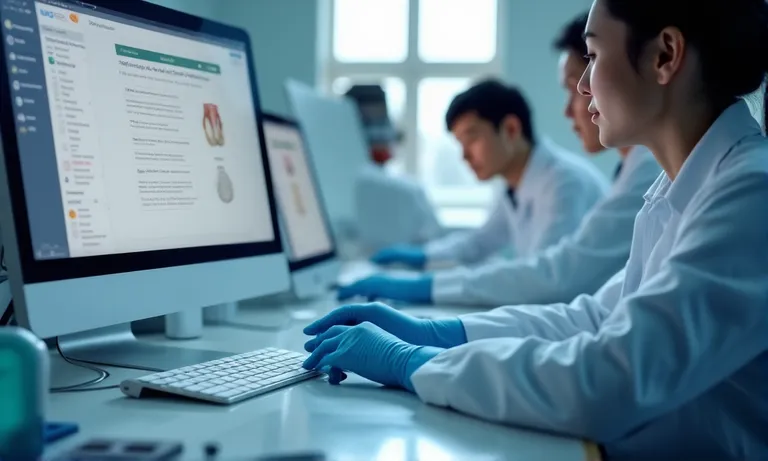
Common Digital Platforms for Submitting Restorative Cases
With the rise of digital workflows, multiple platforms now support inlay/onlay case submission. Each has different features, compatibility levels, and integration depth with labs. Understanding the landscape helps clinics select the most efficient and secure submission method for their team and lab partner.
Dental-submission-platforms-3Shape-exocad-portal
3Shape Communicate and Exocad Upload
These two platforms dominate CAD scan workflows:
- 3Shape Communicate allows real-time sharing of TRIOS cases, margin markings, and built-in prescription forms. Most labs, including Raytops, are directly integrated.
- Exocad uploads typically involve exporting STL + XML files and uploading them through cloud portals or manual drag-and-drop interfaces.
Clinics should ensure lab compatibility and confirm if auto-sync or manual approval is required for each case.
Open Lab Portals and Secure FTP
Many labs offer their own:
- Browser-based portals with custom prescription forms and upload trackers.
- FTP (File Transfer Protocol) access for high-volume clients needing batch uploads or advanced control.
These systems are ideal for DSOs or clinics managing centralized case routing, offering flexibility across scanner types.
Dedicated Submission Platforms from Partner Labs
Some labs build or license white-label systems that:
- Preload preferred materials and workflows.
- Auto-match restoration types with recommended materials.
- Send instant confirmation and QC alerts.
These platforms reduce back-and-forth and improve transparency, especially for repeat clients.
Manual Upload vs. Integrated CAD Connection
Manual uploads are:
- More flexible (any scanner type)
- But slower and prone to omission errors (wrong file, missing bite)
Integrated CAD uploads:
- Offer smoother workflows and embedded margin markings
- But require initial lab pairing and software familiarity
Choosing between them depends on your clinic’s workflow habits, case volume, and digital maturity.
Across platforms, the goal is the same: efficient, secure, and clear submission that minimizes human error and supports timely case fabrication.
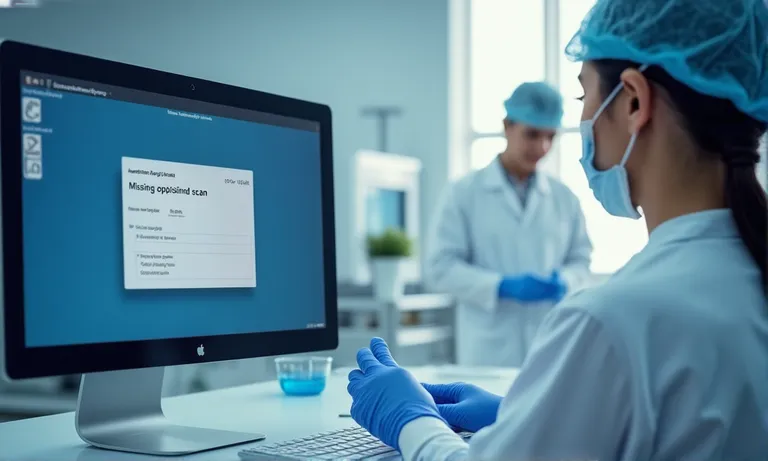
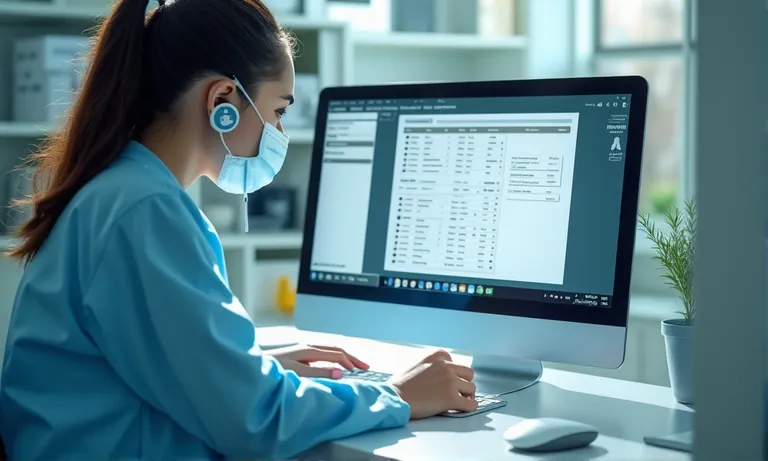
What to Expect After Submitting a Digital Onlay/Inlay Order
Once you’ve submitted your case files, a structured process begins within the dental lab to validate, model, manufacture, and deliver your restoration. Understanding what happens post-submission helps clinics better align timelines, manage patient expectations, and respond to lab feedback more effectively.
Dental-lab-digital-case-review-feedback-process
File Review and Case Validation
Upon receipt, the lab’s intake team will:
- Open and inspect all submitted files.
- Check margin clarity, occlusion reference, and file integrity.
- Compare prescription instructions with included scans.
Any missing or incompatible files are flagged before modeling begins. Early validation reduces remakes and avoids wasted modeling time.
Feedback from Lab on Missing/Invalid Data
If issues are found, expect prompt contact from the lab:
- Common flags include unclear margins, missing opposing arch, or mismatched tooth numbers.
- Communication may be through the submission platform, email, or phone depending on setup.
At Raytops, we aim to send alerts within the same business day if a case fails intake QC.
Estimated Turnaround and Delivery Options
Once approved, you’ll typically receive:
- Estimated production timeline (e.g., 3–4 working days for zirconia onlays)
- Shipping or delivery confirmation window
- Any rush options, if previously agreed or requested
Rush requests must be confirmed by both parties to ensure production capacity.
Case Approval, Manufacture, and Shipment
With validation complete:
- Case enters modeling queue (CAD/CAM or technician wax-up).
- Lab technician or AI engine designs the restoration.
- QC check and material selection confirmed before manufacturing.
- Final restoration packed with ID and case slip, then shipped.
Clinics can expect status updates depending on the submission system used.
✅ Post-submission validation and communication help avoid costly rework – TRUE
Early checks allow corrections before manufacturing begins, reducing chairside adjustments and delays.
❌ Submitting the scan is the last step—you just wait for delivery – FALSE
Labs actively review each case and may need clarification. Passive communication leads to avoidable delays.
How to Avoid Submission Errors for Predictable Results
Even experienced clinics occasionally face rejections or remakes due to digital submission errors. From the lab side, these errors often stem not from clinical quality—but from preventable workflow gaps. Knowing the most common issues helps teams improve efficiency and restore with confidence.
Dental-digital-case-submission-errors-checklist
Incomplete Margin Visibility or Improper Scans
If the lab can’t see the full margin:
- Modeling is delayed or guessed, increasing adjustment risk.
- Restoration fit may be compromised at the margin seal.
- Common causes include moisture interference, prep shadows, or scanner angulation.
Always double-check scans from multiple angles before submission.
No Indication of Inlay/Onlay Type
A missing or vague prescription can lead to:
- Wrong design (inlay instead of onlay)
- Incorrect material selection (e.g., full-cusp zirconia vs conservative e.max)
- Miscommunication on coverage area
We advise clinics to always annotate restoration type and design scope in the case notes or digital form.
Conflicting Instructions Across Files
When image notes, prescription forms, and file names disagree:
- Lab must stop and clarify, delaying the workflow.
- Technicians may choose conservative defaults, reducing clinical intent fidelity.
Ensure consistency across documentation—especially when teams split the workload.
Submitting to Incompatible Lab Systems
Labs vary in file intake systems. Common compatibility issues include:
- Submitting
.rarfiles instead of.zip - Sending 3Shape cases without lab pairing
- Uploading unsupported XML formats from newer scanner software
Check with your lab about supported file types and preferred upload paths.
✅ Clear, complete, and consistent submissions reduce lab-side errors – TRUE
Proper scan checks, matched documentation, and compatible formats significantly improve accuracy and reduce turnaround disruptions.
❌ The lab will adjust anything that’s unclear – FALSE
While we try to assist, many errors—like undetectable margins or ambiguous indications—can only be corrected at the clinic level.
Best Practices for Consistent Digital Submissions to Your Lab
Consistency is the key to predictable results in digital dentistry. While technology reduces manual errors, it also amplifies the impact of small mistakes when systems aren’t aligned. Clinics that standardize their submission workflow—both technically and operationally—tend to experience faster turnarounds, fewer remakes, and better lab relationships.
Digital-dental-submission-best-practices-checklist
Create a Submission Checklist Template
A clinic-specific checklist reduces oversight:
- Ensure bite, opposing arch, and prep scan are all present.
- Confirm case form includes tooth number, material, and restoration type.
- Use visual confirmations for margin clarity and file naming.
We recommend customizing this checklist based on scanner type and lab protocol.
Train Team on File Prep and Review
Even the best system fails without consistency:
- Train all assistants and clinicians involved in scanning or uploading.
- Review common errors monthly (e.g., missing occlusal scan).
- Cross-check before submission—two sets of eyes prevent most issues.
This especially helps multi-site clinics or teams working in shifts.
Align With Lab’s Material and Workflow Standards
Every lab has preferences—and capabilities:
- Know which materials are supported for specific prep types.
- Understand the lab’s margin marking or model preference (digital vs printed).
- Sync on turnaround expectations, especially for rush cases.
We often suggest a short onboarding call with new clinics to align on these before the first few submissions.
Maintain Communication Logs for Recurring Issues
Tracking past cases helps identify and fix workflow gaps:
- Keep simple logs of feedback from the lab (e.g., margin unclear, file mismatched).
- Adjust your checklist or training accordingly.
- Share repeated lab-side issues with your team to prevent recurrence.
Over time, this reduces friction and helps build a smoother, faster digital workflow.
Consistency doesn’t mean rigidity—it means creating a repeatable, reliable process that supports better results with less friction. The better your system, the more your lab can focus on doing what it does best: fabricating restorations that seat with precision.
Conclusion
Consistent, complete digital submissions are the key to predictable outcomes, faster seat times, and fewer lab-side disruptions. Here’s a quick recap of best practices:
- Required data: Always include margin-clear scans, bite, tooth number, and material choice.
- File prep: Clear file structure and labeling prevent delays.
- Submission platforms: Choose the right method based on your workflow and scanner type.
- Post-submission process: Understand lab intake, validation, and delivery timelines.
- Error prevention: Avoid vague prescriptions and incompatible formats.
- Digital consistency: Use checklists, train teams, and log lab feedback to build a scalable system.
Want a submission checklist or file naming template? Contact Raytops Dental to receive the tools we provide to our long-term digital partners for smoother collaboration.