Quality issues in crown & bridge production don’t start at delivery—they begin when labs lack embedded checks across the process.
When margin fit, shade accuracy, or documentation isn’t verified at each stage, avoidable remakes compromise trust and efficiency.
Raytops Dental Lab supports clients with layered QC systems that span intake to shipment, helping clinics receive restorations that fit—both clinically and professionally.
Key quality control steps a crown & bridge lab should follow:
- Verify case documentation and STL files at intake
- Conduct in-process checks during design, milling, and layering
- Perform a final inspection for fit, esthetics, and packaging accuracy
These QC steps help ensure clinical precision and minimize remakes.
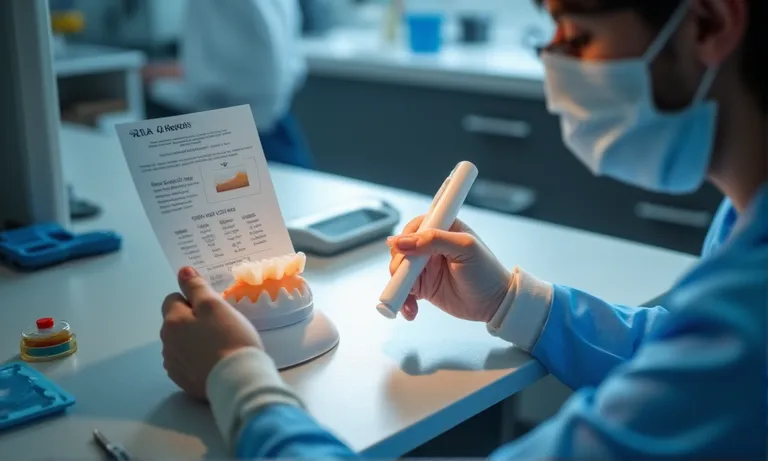
What Quality Control Steps Should a Crown & Bridge Lab Follow?
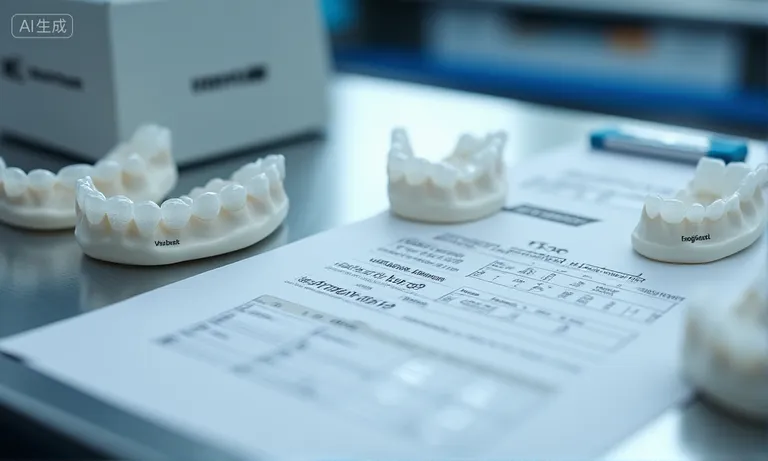
A professional crown & bridge lab’s quality control (QC) process should be embedded across every production stage—from case intake to final shipment. This ensures each restoration meets clinical expectations, reduces remakes, and protects long-term client trust.

Crown-Bridge-Dental-Lab-Quality-Control-Process-Flow
Case intake and documentation verification
- Prescription review: material, shade, finish line, case notes
- STL file check: verify margin clarity, occlusal clearance, scan integrity
- Accessory file confirmation: photos, opposing models, bite data
- Case labeling and tracking code generation
- Initial technician handoff with intake notes
This ensures all input data is valid before production begins.
In-process checks at design, milling, and layering stages
- CAD design review: margin trace accuracy, emergence profile, connector dimension
- Milling QC: verify tool paths, material integrity, fit to printed model
- Layering checks: anatomy consistency, internal stain positioning, porcelain application order
- Stage-wise technician signatures: confirm check completion before proceeding
These checkpoints control output quality long before final delivery.
Pre‑shipping final inspection and QC sign‑off
- Model fit verification: crown seats fully without rocking or pressure points
- Contact and occlusion check: articulator used for dynamic assessment
- Esthetics check: surface finish, shade accuracy, anatomical form
- Documentation verification: packaging with correct labels, instructions, and certificates
- Supervisor or senior technician sign-off
Final QC ensures clinical fit, aesthetics, and compliance before shipment.
✅ QC is a multi-stage process involving intake, design, and finishing – TRUE
Well-structured labs embed QC across production, not just at the end.
❌ Final shipping inspection alone ensures quality – FALSE
Last-minute checks can’t fix design flaws or upstream errors; layered control is essential.
How should a lab verify margin fit and passive fit before shipping?
Verifying margin fit and passive fit is essential before a crown or bridge leaves the lab. These checks help ensure the restoration seats accurately, avoids pressure points, and fits passively—especially important in implant or long-span cases.
Dental-Lab-Margin-Fit-and-Passive-Fit-Verification
CAD margin line checks using magnification tools
- Digital zoom tools or optical magnifiers are used to inspect the traced margin lines
- Clean, continuous, feather-free lines confirm accuracy
- Mismatch between scan and margin trace is flagged for revision
- Technicians double-check prep clearance and emergence profile for restoration feasibility
- Special attention is given to deep subgingival or rotated preps
A precise margin trace is foundational to a proper-fitting restoration.
Model seating/contact and occlusal testing on articulator
- Printed model fit: crown or bridge is seated on model to confirm full seating without pressure
- Static contact testing: articulating paper used to check occlusion points
- Dynamic articulation: semi-adjustable articulators test lateral and protrusive function
- Contact tightness: floss pass-through or shim test checks for open/tight contact
- Proximal contour validation: ensures anatomical contact with adjacent units
These steps catch contact and occlusion errors before shipment.
Passive fit assessment especially for implant‑supported cases
- Sectional model fit: bridges placed on sectioned model for passive seating
- Screw channel stress test: bridge must seat without tension during screw tightening
- Visual and tactile assessment: technician evaluates if slight pressure is needed
- CAD verification: emergence profile, insertion path, and multi-unit platform matching are confirmed
- Implant analog stability: confirms proper positioning and minimal tolerance issues
Passive fit prevents biomechanical complications in implant restorations.
A restoration that looks beautiful but fails to seat passively can compromise the entire case. Integrating both visual tools and physical verification steps ensures every unit sent is truly seatable and safe.
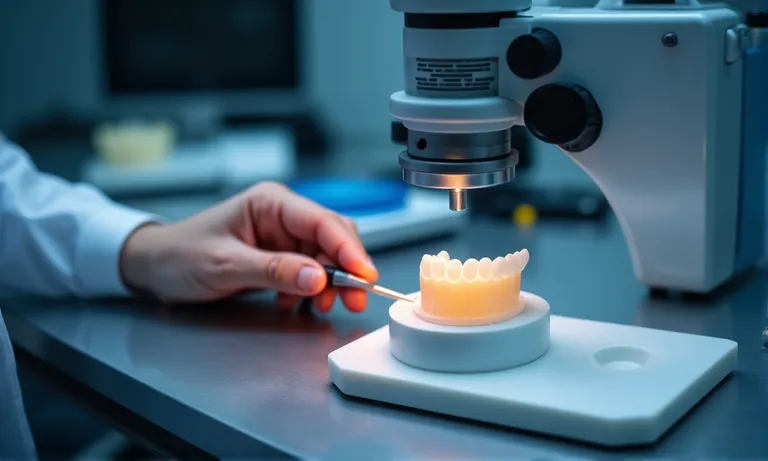
What protocols catch aesthetic and shade inconsistencies?
Consistent esthetics—especially shade, translucency, and surface detail—is critical to patient satisfaction. A crown or bridge may fit perfectly but still fail clinically if it appears mismatched in the mouth. That’s why every lab needs layered aesthetic QC protocols beyond mechanical checks.
Dental-Lab-Shade-Matching-and-Aesthetic-QC-Verification
Shade matching under daylight and cross‑lighting
- Dual-lighting inspection booths simulate clinical environments (daylight & warm tone)
- VITA guide and internal shade references ensure consistent interpretation
- Reference photos from clinics are cross-checked where available
- Technicians use neutral background surfaces to avoid color distortion
- Documented shade deviation reports help identify repeat patterns
Correct shade perception starts with lighting and standardization.
Layering/translucency quality checks
- Porcelain layering consistency is compared across similar cases
- Translucency zones (incisal, cervical) are visually examined under different angles
- Stain and glaze patterning checked for even application and natural blending
- Internal bubbles, delamination signs are flagged for remaking
- Reference samples help standardize expectations in layered cases
Esthetic integrity requires both color and depth consistency.
Surface finish and anatomy verification
- Microsurface texture checked for natural enamel-like reflection
- Anatomical landmarks such as cusp angles, mamelons, and grooves verified
- Final polish inspection under raking light reveals inconsistencies
- Matched to the provided anatomical design references when available
- Surface contamination or glaze pooling leads to rework if detected
A visually correct crown should reflect both beauty and natural form.
Esthetics may be subjective, but QC protocols make it reproducible. Proper lighting, clear reference inputs, and technical discipline ensure the crown delivered doesn’t just fit—but looks like it belongs.
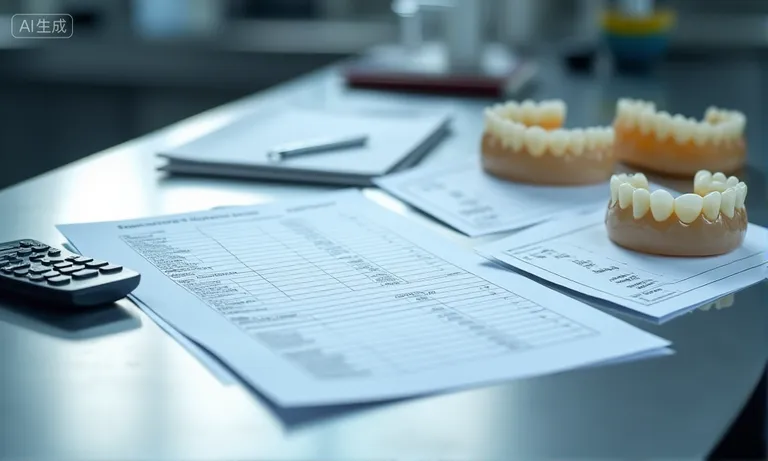
How should quality data be tracked and analyzed?
Tracking quality data allows a crown & bridge lab to identify repeat errors, monitor technician performance, and reduce remake rates over time. A structured data system turns case-level QC into lab-wide insight—and ensures accountability.
Dental-Lab-Quality-Control-Dashboard-and-Remake-Tracking-System
Internal QA forms and technician sign‑off logs
- Each case includes a QC checklist tied to technician ID
- Technicians sign off per stage (design, milling, finish) to confirm accountability
- Forms include checkpoints: margin fit, occlusion, shade match, polish
- Supervisors conduct random audits and provide performance feedback
- Digital logs integrate with case management platforms
This ensures responsibility is traceable by case and technician.
Remake tagging with root‑cause analysis (RCA)
- All remake cases are tagged by type: fit, esthetic, communication, material
- RCA protocol asks: what went wrong, why it happened, and how to prevent it
- Patterns are reviewed monthly to identify process gaps
- Feedback shared internally across design and production teams
- Linked photo evidence and case comments ensure transparency
Root-cause tagging prevents repeated mistakes.
Monthly QA trend reports and dashboards
- Lab-wide dashboard monitors remake rate, technician QA score, turnaround variance
- Trend reports track category frequency, case type errors, and time lost to remake
- Reports used for technician review and retraining
- Data helps clinics track lab-side errors vs. clinic-side issues
- Clients may request anonymized QA summaries as part of review cycle
Consistent data analysis builds continuous improvement culture.
Even the best lab has occasional remakes. What defines a reliable partner is how transparent the process is—and how clearly the data points to real improvement. Request our sample QA dashboard summary to see how your cases could be tracked and reviewed.
What mechanisms integrate lab‑clinic feedback and accountability?
Effective crown & bridge partnerships require more than technical skill—they need structured feedback loops and clear accountability. Labs that embed clinical response protocols and post-case tracking are better positioned for long-term collaboration.

Dental-Lab-Clinic-Feedback-Loop-and-Accountability-Process
Feedback loops for clinical adjustments and fit issues
- Shared technician-clinic case notes used for communication
- Post-case feedback forms allow clinics to report seating or esthetic challenges
- Case-based discussions via email or WhatsApp for adjustments
- Recurring issues logged and flagged for internal follow-up
- Modification actions recorded for traceability and learning
Feedback is only useful when it’s captured and acted upon.
Defined remake scenarios, cost responsibilities, and escalation paths
- Pre-agreed remake policy outlines acceptable remake causes
- Responsibility split defined: lab, clinic, or mutual
- Escalation protocol for urgent remake cases with priority workflow
- Fee waivers or discounts applied based on root-cause
- Clients informed in advance of any exceptions or thresholds
Accountability builds trust, especially when things go wrong.
Documentation of technician‑clinic notes and resolution tracking
- Case histories include technician notes on margin, design rationale, or client preferences
- Each case includes a follow-up log, especially for complex bridges or implant cases
- Resolution reports documented and reviewed monthly
- QA team uses these records for technician retraining or SOP updates
- Clients may request shared summary during performance review sessions
A transparent history creates continuity across reorders and evolving preferences.
✅ Structured feedback loops support long-term collaboration – TRUE
Shared tracking tools and documented actions strengthen clinic-lab partnerships.
❌ Quality issues can be managed without feedback documentation – FALSE
Without written records and resolution paths, problems repeat and accountability fades.
Conclusion
In crown & bridge restorations, consistency and accountability depend on structured quality control—not just experience. A reliable dental lab integrates verification and feedback from start to finish, supporting clients with traceable processes and proactive review cycles that prevent remakes before they happen.
- A dependable lab should implement multi-stage quality control checks across intake, production, and final inspection—not rely on last-minute fixes.
- Labs must confirm margin and passive fit accuracy before shipping, especially for implant or long-span cases where pressure-free seating is essential.
- Aesthetic consistency protocols ensure that shade, surface finish, and layering meet patient-facing expectations, not just technical specs.
- Labs should maintain quality data tracking and root-cause analysis systems to monitor trends, tag remakes, and reinforce technician performance.
- An accountable partner builds trust through feedback documentation and clear remake policies, enabling joint problem-solving with clinics when needed.
To see how a lab-wide QA system can support your clinical efficiency, partner with Raytops Dental Lab for traceable production and consistent results.