Scanner and software compatibility is one of the most common—yet most underestimated—risks in outsourcing crown and bridge cases to a dental lab. When digital systems don’t align, whether due to unsupported STL or PLY formats, scanner restrictions, or mismatched CAD workflows, the result is often delays, poor fits, or costly remakes.
To avoid these breakdowns, buyers should evaluate five critical areas before sending digital cases:
- Scanner output compatibility: Does your TRIOS, Medit, iTero, or Primescan system export in formats the lab can process—without manual conversion or data loss?
- File validation procedures: Can the lab detect scan quality issues, misalignments, or unsupported libraries early—before design starts?
- CAD platform alignment: Is the lab using CAD software (like Exocad or 3Shape) that syncs with your design parameters and library settings?
- Submission protocol clarity: Are there structured file naming, segmentation, and intake checklists to avoid ambiguity?
- Pre-submission collaboration: Has the lab provided clear answers to scanner support, file transfer, turnaround time, and feedback workflow?
Addressing compatibility before the first case reduces revision cycles, speeds up delivery, and helps build a reliable, digitally integrated relationship with your lab partner.
Why Scanner and Software Compatibility Matters in Crown and Bridge Outsourcing
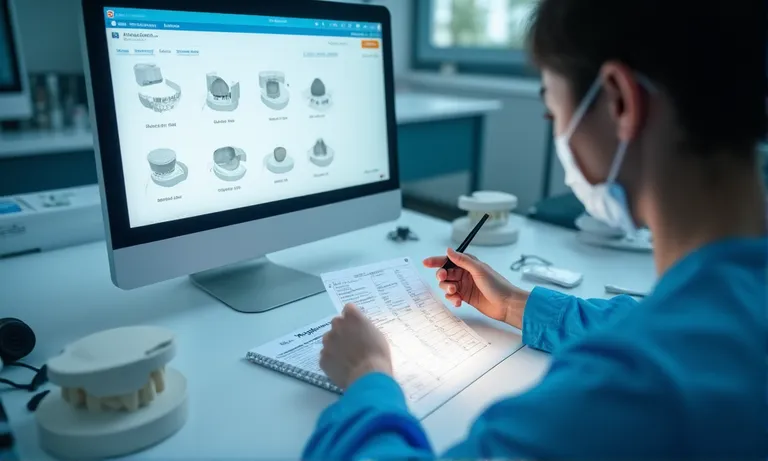
In crown and bridge outsourcing, ensuring scanner and software compatibility is not just a technical detail—it’s a key determinant of case success. File mismatches or incomplete data can lead to remakes, production delays, and costly communication loops. Labs that actively validate compatibility early can help clinics prevent hidden risks and streamline collaboration from day one.
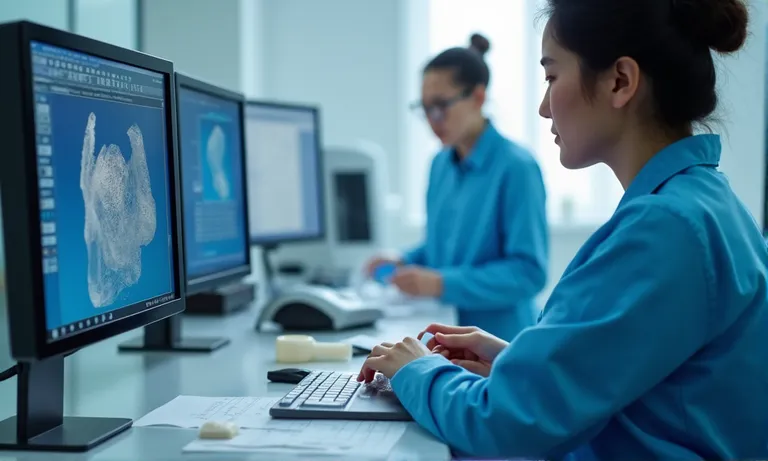
dental-scanner-cad-software-integration-check
How file incompatibility leads to remakes, delays, and inaccurate fits
Seemingly small mismatches in file type, resolution, or data segmentation often lead to significant clinical outcomes—ill-fitting crowns, internal gaps, or return cases. We’ve seen cases where open-source STL files lacked critical metadata or scan depth, resulting in adjustments that weren’t visible until production. Worse, improperly aligned bite scans can throw off occlusion entirely, requiring case remakes and patient callbacks.
These risks often only surface after the work is done—when a doctor receives a crown that looks right but doesn’t seat correctly. For high-throughput clinics or DSOs, the compounded time cost can be substantial.
When scanner or CAD software mismatches cause hidden production issues
- Bite registration errors: Some scanners compress occlusal detail or mislabel layers, affecting articulation in the final design.
- Margin interpretation issues: Library inconsistencies between clinic and lab-side software can lead to guesswork at critical points like finish lines.
- Incomplete file sets: Labs often receive just a single STL file without antagonists, gingiva scans, or prep context—forcing assumptions that affect fit.
- Unsupported software versions: Submitting files using outdated or locked formats can make imports fail silently, requiring manual fixes or callbacks.
The lab might not flag every mismatch immediately—but cumulative errors can silently degrade precision.
Why early compatibility checks improve efficiency and reduce communication friction
A midsize clinic in Brisbane had consistent delays when submitting cases scanned with an older Primescan system. Their technician wasn’t aware that their STL output lacked consistent model segmentation—causing bite shifts and incorrect occlusion. After we flagged this in their third case, we helped them switch to a layered STL export with antagonist and bite registration split.
From then on, remake rates dropped by 40%, and communication reduced to one message per case on average. The clinic later told us:
“Honestly, just knowing you were checking that stuff upfront gave us peace of mind.”
So we recommend all clinics—especially first-time outsourcing users—to conduct a basic file test with the lab before sending real cases. It saves time, reduces friction, and prevents misaligned expectations later.
Poor compatibility isn’t just a tech inconvenience—it’s a quality and trust issue. Labs that support multi-system workflows and proactively validate file formats can help clinics avoid downstream problems. That’s why at Raytops, we treat compatibility as a shared responsibility from day one.
What Scanner Brands and File Types Are Commonly Supported by Dental Labs?
Most modern dental labs support a wide range of scanners and file types, but compatibility is never guaranteed. The safest path is to verify that your scanner’s output format and version are actively supported by the lab’s internal CAD and workflow systems. STL is the most universally accepted format, but differences between binary and ASCII versions—or missing metadata—can still cause friction. Lab familiarity with your scanner brand also influences turnaround time and accuracy.
Image
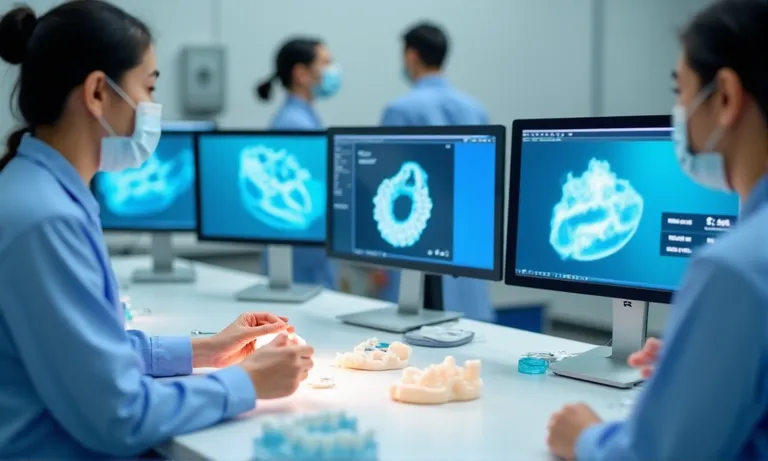
ALT: dental-scanners-file-type-compatibility
Prompt: A highly realistic, ultra-detailed, professional-quality image in a dental lab setting. Multiple popular intraoral scanners (3Shape TRIOS, Medit i700, Primescan, iTero) are shown on a clean worktable with labeled digital file formats (STL, PLY, OBJ) on adjacent monitors. The background includes technicians reviewing scan layers and margin lines. Lighting is soft daylight with crisp CAD detail on screens.
Popular scanner systems: 3Shape TRIOS, Medit i700, Primescan, iTero
Dental labs most commonly support the following scanner systems:
- 3Shape TRIOS: Highly compatible with most CAD workflows; STL and DCM export supported.
- Medit i700/i600: Widely used in digital labs due to its flexible export (STL, PLY) and affordable pricing.
- Dentsply Sirona Primescan: Closed system by default; requires Connect software or STL bridge setup.
- Align iTero: Exports via cloud portal; native output is proprietary, but open STL bridge is available (subscription-based).
- Carestream CS Series: Often used in North America; requires export configuration to ensure lab compatibility.
These scanners are not created equal when it comes to lab-side integration. For instance, some iTero and Primescan systems lock case data unless the right export bridge is installed.
Accepted file formats: STL (binary vs ASCII), PLY, OBJ
| File Format | Common Use | Pros | Limitations |
|---|---|---|---|
| STL (Binary) | Universal export format | Compact, widely accepted | Lacks texture and color |
| STL (ASCII) | Open-source workflows | Human-readable | Larger file size, slower load |
| PLY | Implant workflows, margin capture | Includes color + texture | Not supported by all lab systems |
| OBJ | Some CAD visualization tools | Texture + geometry | Often used for facial scans; limited in dental design |
While STL remains the de facto standard, formats like PLY offer added visual data for soft tissue, which can aid in margin interpretation—especially for anterior cases. Labs must have software capable of recognizing and parsing these formats accurately.
Understanding open vs closed scanner ecosystems
One common pain point in lab collaboration is the closed nature of certain scanner ecosystems. For example, iTero and Primescan are widely respected for their scan quality but require specific settings or subscriptions to export standard STL files. If these are not configured correctly, labs may receive locked cases or incomplete data—often without immediate error messages.
In contrast, systems like Medit or 3Shape are considered “open” and allow users to export files freely in multiple formats, with full control over segmentation and case metadata. This not only makes integration smoother but also gives the lab better visibility into scan detail, improving design outcomes.
Labs that support both closed and open ecosystems often develop intake templates or verification steps to ensure proper parsing. For clients, the best practice is to test-scan and export one case with the lab before onboarding.
Knowing your scanner’s export behavior can prevent weeks of back-and-forth emails. It’s not about which brand is “best”—it’s about ensuring your system talks cleanly with theirs.
Some labs, including ours, have developed quick-reference compatibility charts and can advise on scanner setup as part of the onboarding process.
Many misunderstandings stem not from bad files—but from silent incompatibilities that surface later in production. Investing one hour upfront to align scanner settings can save multiple hours downstream.
How Do Labs Validate and Preprocess Incoming Digital Files?
Dental labs don’t just receive and print files—they must actively validate and preprocess every case to ensure accuracy, compatibility, and clean design inputs. Labs that skip this step risk costly remakes, while labs that build it into their intake workflow protect both parties from hidden misalignments or distortions.
dental-lab-stl-file-checking-validation
STL resolution check, surface trimming, and distortion detection
Before any digital design begins, most labs inspect submitted STL files using the following criteria:
- Mesh resolution and density: Low-resolution files may miss fine margin details, while overly dense files slow processing without added value.
- Excess surface data trimming: Intraoral scans often include lips, tongue, or unintended surfaces. Labs trim these to isolate clean prep areas.
- File integrity and distortion scan: Files may appear complete visually but carry subtle mesh warping—often from shaky scanning or movement—which affects fit accuracy.
We use internal CAD tools to run mesh consistency scans, and if there’s a threshold breach (e.g., margin break or depth noise), we notify clients early—before production starts.
This extra 10-minute check saves hours of correction later.
Scan body recognition and implant system matching
A DSO group we collaborate with in Ontario had an issue where their implant scans were consistently failing during alignment—causing two-day delays. After reviewing the files, we discovered their scanner was capturing scan bodies at an angle that distorted the cylinder shape, confusing our recognition algorithm.
We suggested they adjust scan head tilt by 15 degrees and re-center the scan entry point. After this change, 100% of scan bodies aligned successfully across their implant library.
It was a small calibration issue—but it had caused a 3-case backlog and hours of rework.
That group told us:
“No one ever explained this detail before. We assumed it was a software bug on your side.”
When labs understand your implant system—and how you scan it—they can spot and solve alignment issues faster than most front-line support.
Alignment verification for bite, antagonist, and jaw scans
Our lab uses a three-step verification process when checking occlusion and jaw scan alignment:
- Midline and occlusal plane analysis
We confirm that both arches are properly oriented and not skewed from patient positioning errors. - Antagonist contact zone match
We assess how bite scans relate to the opposing arch—especially in molar regions where occlusion drives design. - Jaw scan segmentation and file layering
We check whether the file includes segmented layers (e.g., gingiva, antagonist, bite) or was flattened—affecting occlusal guidance and gingival contour design.
In many cases, we’ve flagged misalignments before clients even noticed. That upstream clarity reduces remake risk and speeds up production decisions.
Labs that skip this step risk relying on assumptions—and assumptions are expensive in crown design.
Labs that take digital quality control seriously become an extension of the client’s clinical workflow. At Raytops, we see file validation not as a courtesy—but as a built-in quality gate for every case.
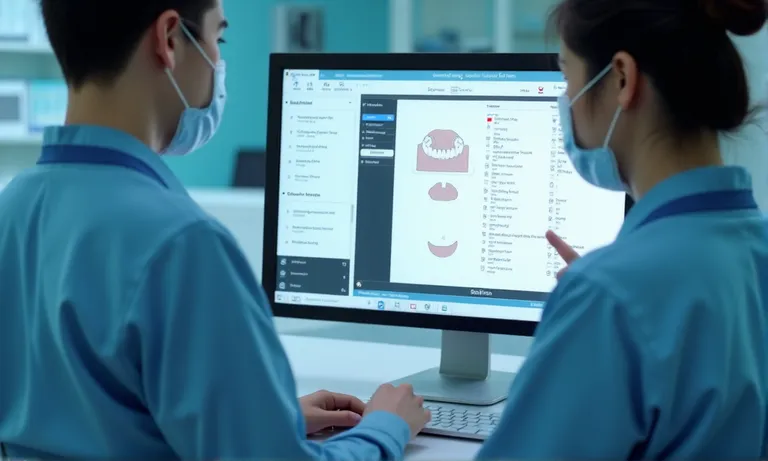
What CAD Software Platforms and Library Integrations Should Be Considered?
When outsourcing crown and bridge work, it’s not enough for labs to accept your STL files—they must also use compatible CAD platforms and maintain synchronized libraries. Misaligned software versions, outdated parameter sets, or missing implant systems can lead to margin mismatches, occlusal interferences, or internal adjustments that go unreported until delivery. A lab’s internal CAD structure should work in harmony with yours—not against it.
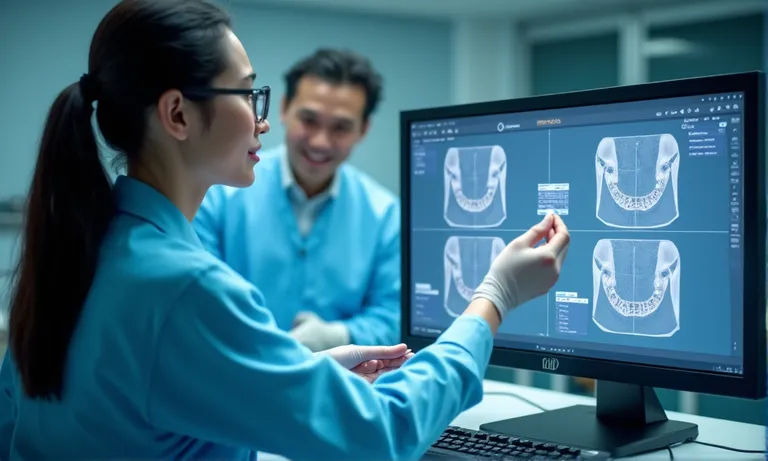
dental-cad-software-library-sync
Main lab CAD systems: Exocad, 3Shape Dental System, Dental Wings
Most digital labs operate on one or more of the following CAD systems:
- Exocad: Highly modular, widely used by labs; strong third-party library support; excellent for custom abutment workflows.
- 3Shape Dental System: Feature-rich, integrates tightly with TRIOS scanners and workflows; more closed on library access.
- Dental Wings: Used in some regions for full-arch or implant frameworks; stable but with less frequent updates.
- Blue Sky Plan: Often used in smaller labs or for implant planning; less common for full crown workflows.
Each platform handles file imports and design steps differently—especially when it comes to integrating clinic-side margin data and occlusion control.
Labs using Exocad may need STL margin lines imported via XML overlay, while 3Shape systems can inherit native margin from TRIOS scans. Understanding your lab’s internal platform ensures cleaner margin capture and smoother adjustments.
Library synchronization to avoid margin mismatch and occlusion errors
A private clinic in Manchester submitted five anterior zirconia crowns based on PFM prep scans using Exocad. Their scanner software had embedded library profiles from a previous lab, and the files included margin curves locked with mismatched implant geometry.
Our team noticed during design review that the zirconia crowns consistently overextended on the lingual side—despite prep reduction being adequate. We traced the issue back to a hidden library conflict: their Exocad export was referencing an outdated abutment system with different emergence profiles.
We walked them through resetting their library sync and aligning export parameters to match our internal Exocad version. The next batch came back with zero overextensions—and a clear match to prep contours.
Their practice lead said:
“We didn’t even realize we were carrying over library residue from a different supplier. That mismatch cost us two patients and a remade case.”
Library conflicts aren’t visible on the scan—they only surface in design or delivery. That’s why synced software is as critical as clean prep data.
Open format sharing and locked design parameter compatibility
| CAD Platform | Margin Transfer | Implant Library Access | Parameter Locking | Cross-Lab Sharing |
|---|---|---|---|---|
| Exocad | STL + XML or DCM overlay | Wide access, frequent updates | Partially editable | High |
| 3Shape | Native with TRIOS + DCM | Centralized, some restrictions | More locked | Moderate |
| Dental Wings | Manual entry often required | Moderate, slower updates | Flexible | Low |
| Blue Sky Plan | STL only | Limited | Manual input | Low |
Some labs may accept STL from any scanner—but if design parameters or libraries don’t align, the result is still inaccurate. Working with a lab that understands how to interpret, override, or map design parameters across systems is essential.
Labs that manage library integrations proactively can reduce errors without needing you to change scanners or software—just export cleanly.
One of our clients summed it up best:
“It’s not just file format. It’s what your lab does with that file that matters.”
What File Submission Protocols Help Avoid Compatibility Issues?
Labs can only work with what you send. Without standardized file naming, structured scan segmentation, and complete metadata, even the best lab can misinterpret your case—leading to margin errors, occlusal gaps, or implant mismatches. Clear protocols reduce guesswork and ensure smooth digital intake.
dental-file-submission-intake-checklist
Standard file naming, case metadata, scan segmentation
To avoid errors, clinics should implement these basic standards before file upload:
- Use consistent file naming: Label each file with case ID, arch, and data type. Example:
Case001_Upper_Prep.stl - Include case-level metadata: Add a PDF or intake form with key info: shade, restoration type, margin preference, material.
- Segment scan files clearly: Upload separate files for prep, antagonist, gingiva, and bite—even if your scanner allows combined exports.
- Avoid mixed-layer STL: Flat exports make it harder for labs to isolate key anatomical zones. Keep scans structured.
Lack of clarity during submission leads to guesswork in design. And guesswork leads to remake risks.
Preferred format structure: STL + gingiva + antagonist + bite
| File Name | Type | Notes |
|---|---|---|
JohnDoe_Upper_Prep.stl | Preparation | Primary scan showing margin and prep line |
JohnDoe_Lower_Antagonist.stl | Opposing | Used for occlusion analysis |
JohnDoe_Bite.stl | Bite registration | Ensures proper articulation |
JohnDoe_Gingiva.stl | Soft tissue | Optional, but critical for anterior esthetics |
JohnDoe_InfoForm.pdf | Metadata | Shade, restoration type, contacts, margin, date |
When files arrive in this format, the lab doesn’t need to decode or chase missing layers. This reduces intake time and improves internal assignment accuracy.
We’ve had clients cut 15–20% off their turnaround time just by switching to this format after initial onboarding.
Submission checklist and lab-provided intake templates
Here’s a 5-step intake process we share with first-time clients to reduce miscommunication:
- Export scans with correct naming and segmentation
Avoid “Final.stl” or ambiguous labels. - Fill out a standard intake form
Include case info, preferred material, and margin instructions. - Upload files via lab’s preferred platform
Whether Dropbox, 3Shape Communicate, or Raytops Cloud, use structured folders. - Notify lab contact with case ID and delivery deadline
Prevents case from sitting unassigned. - Review lab’s confirmation message
Some labs send back intake summaries; verify before design starts.
We’ve seen clinics go from chaotic submissions to smooth daily uploads just by following this protocol.
Our intake team is trained to spot errors early, but clear submissions make that process even faster.
What Questions Should Be Asked Before Submitting Digital Cases?
Before sending digital cases to a dental lab, asking the right questions can prevent compatibility issues, reduce miscommunication, and ensure the lab is truly equipped to handle your scanner system, file formats, and workflow preferences. A short checklist upfront can save hours—or days—later in production.
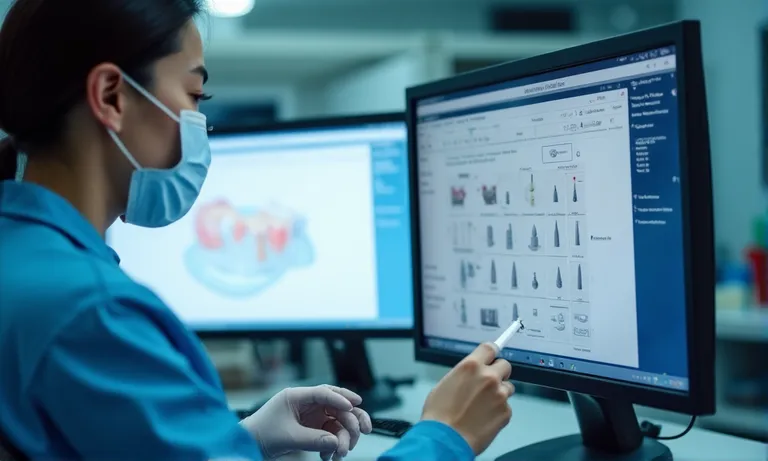
dental-lab-digital-case-submission-questions
Which scanners and software versions does the lab actively support?
Here are five essential questions every clinic or DSO team should ask before their first case submission:
- Which scanner brands and software versions are natively supported?
Avoid assumptions—confirm the lab’s ability to import and process your exact version. - Do you support STL, PLY, or DCM from my system?
Ask for accepted formats per scanner type; some require manual conversion. - Can you receive files via my current transfer platform (e.g., Medit Link, 3Shape Communicate)?
Confirm the lab has access or credentials if using cloud-based portals. - Do you offer file validation or intake feedback before production?
A good lab flags scan issues early—especially for implant or anterior cases. - What turnaround time should I expect based on my scanner and restoration type?
Some scanners produce heavier data or require more adjustments; ask before promising delivery to a patient.
Labs that can’t answer these questions clearly may not be ready to handle your workflow.
Does the lab offer STL review, error flagging, or return notifications?
Not all file uploads are equal—and not all labs check thoroughly.
Some labs process incoming scans without visual validation or mesh integrity checks. That’s risky. Others, like Raytops, treat the intake step as part of the quality process. Our intake team runs scan resolution checks, margin edge verification, and library compatibility reviews before assigning a case for design.
We’ve had DSO clients who switched to us primarily because their previous lab never alerted them to repeat bite scan errors that caused premature occlusion. After just one onboarding review with us, they corrected their scan flow and reduced remake rates by over 12%.
Ask your lab:
“If I submit a problematic scan, how will I know before it’s too late?”
Their answer tells you a lot about their process maturity.
Are their platforms compatible with your file formats and design workflows?
Here’s a basic pre-submission checklist to confirm before starting collaboration:
- ✅ My scanner brand is listed in their supported systems
- ✅ My export format (STL/PLY) is accepted without conversion
- ✅ The lab can receive files via my preferred platform
- ✅ Intake forms are accepted in PDF or digital format
- ✅ I’ve done a dry-run case or received confirmation on file parsing
- ✅ I know their turnaround time based on restoration type
If you can check all six boxes above, you’re likely ready to submit your first full case.
Labs that facilitate this checklist—or provide their own—are more likely to become long-term digital partners, not just order-takers.
Conclusion
Ensuring scanner and software compatibility with your dental lab isn’t just about formats—it’s about building a workflow that minimizes errors and maximizes efficiency. From verifying supported file types to aligning CAD libraries and standardizing submissions, each step contributes to faster turnaround and more predictable outcomes.
As an experienced overseas dental lab, we’ve learned that the best results come from shared systems, not just shared files. Whether you’re a clinic, DSO, or distributor, aligning early on compatibility sets the foundation for long-term digital success.