Digital veneer cases often fail not because of bad scans—but because of missing context.
Incomplete files, unclear margins, or the wrong material presets cause delays, remakes, and patient dissatisfaction.
By preparing complete digital submissions with scan, bite, shade, and design clarity, clinics ensure faster approvals and more accurate outcomes with e.Max veneers.
Submitting an e.Max veneer case digitally requires clean intraoral scans, clear margin capture, proper bite registration, material selection, and complete documentation. Clinics that follow structured workflows minimize remakes and ensure accurate esthetic outcomes from digital veneer submissions.
What Should Be Prepared Before Submitting an e.Max Veneer Case Digitally?
Successful digital veneer submissions begin long before the file upload. For e.Max cases, where precision and esthetics are critical, what happens before the scan is sent often determines how smooth the lab process will be. Clinics that prepare complete, clean, and compatible data sets experience fewer remakes, faster turnaround, and more accurate results.

Digital-submission-prep-scan-photos-emax
What Scans and File Formats Are Required for Digital e.Max Veneer Cases?
- Intraoral scans in STL format are standard, though some labs accept PLY (with color data)
- Include full arch scans for both upper and lower jaws—even if veneers are limited to a few units
- Ensure the scans are clean and trimmed, without excess soft tissue or voids around margins
Digital clarity upfront prevents file rejection or poor design interpretation.
How Important Are Bite Registration and Margin Visibility for Case Accuracy?
- Accurate interarch relationship ensures proper occlusion and contact point design
- Incomplete bite data may cause premature contacts or open bite zones
- Clear margin capture (gingival level, thin edges) is critical for e.Max due to its conservative prep
Many veneer inaccuracies begin not at design—but at scan.
What Role Do Case Photos and Shade Guides Play in Digital Submissions?
- High-res frontal and occlusal photos assist with translucency layering and incisal effect planning
- Include shade tab photos under natural light next to adjacent teeth
- Use written notes to indicate mock-up reference, custom requests, or smile line constraints
Photos help transform the case from geometry into esthetic intention.
How Can You Ensure CAD Software Compatibility When Submitting Cases?
- Confirm your scanner output is compatible with the lab’s CAD system (3Shape, Exocad, etc.)
- If using proprietary portals (e.g., iTero, Medit Link), select the correct Rx preset or design intent
- Avoid excessive compression or non-native exports (e.g., converting STL to ZIP or IMG)
Compatibility is a technical filter—not just preference.
The most predictable e.Max veneer results start with clear, complete input.
Use a case submission checklist to verify every required file and reference is included before you click send—it saves time, avoids redesign, and improves lab collaboration from day one.
What Steps Are Involved in Preparing a Digital File for e.Max Veneers?
Digital veneer success starts with more than just a clean scan—it requires intentional file preparation. When sending e.Max cases to the lab, each digital step must align with the material’s needs: thin margins, accurate shade zones, and well-defined design instructions.

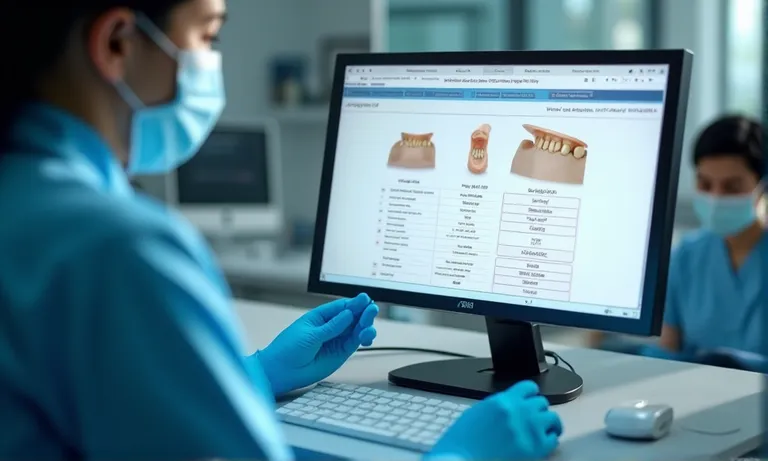
CAD-software-emax-veneer-prep-markup
Step 1: Margin Segmentation and Isolation
- Use high-contrast visualization tools to mark margins precisely
- Avoid auto-margin detection in areas with soft tissue overlap or undercuts
- For subgingival zones, confirm clean emergence profile capture
A misaligned margin in design can lead to open margins or over-contouring in the final veneer.
Step 2: Material Assignment Within CAD Software
- Select Lithium Disilicate or specific brand (e.g., IPS e.Max) from the software’s material library
- Set design thickness parameters accordingly (e.g., incisal: 0.5 mm, facial: 0.3 mm)
- Incorrect selection may lead to overbuilt contours or inappropriate translucency settings
This informs the lab’s nesting, milling strategy, and pressing protocol.
Step 3: Clinical Instructions and Design Guidance
- Include notes on preferred facial contour, incisal translucency, and prep type
- Indicate mock-up references, if the design should match an existing temporary
- Labs benefit greatly from knowing if the case is to be layered or monolithic
Write instructions as if the lab has not seen the patient—clarity improves outcome.
Step 4: Final File Verification and Export
- Review scan for stitching errors, missing zones, or compression artifacts
- Confirm opposing and bite scans are present and aligned
- Export in open-format STL unless using a direct portal
✅ Each design file step directly affects lab accuracy and veneer fit – TRUE
Margins, materials, and design notes are not optional—they’re foundational to aesthetic and functional success.
❌ As long as the scan is clean, lab design will be accurate – FALSE
Clean scans help, but incomplete margin data or wrong material presets can derail the outcome before it even starts.
What Are the Common Platforms for Submitting e.Max Veneer Cases Digitally?
As more clinics adopt digital workflows, the number of submission options grows. Whether you’re using a closed scanner system, an open CAD software, or a lab-specific solution, choosing the right submission method for e.Max veneer cases can directly impact communication speed, file integrity, and turnaround time.
Dental-digital-case-submission-platforms-comparison
How Does the Ivoclar Digital Portal Support Case Submission?
- Designed for seamless integration with Ivoclar products like e.Max
- Offers automated material matching and verified design protocols
- Allows real-time tracking, updates, and design preview (in some versions)
- Ideal for users committed to Ivoclar-compatible workflows
Particularly useful for pressing centers or clinics using Ivoclar pressables.
How Do 3Shape and Exocad Work for Digital Case Transfers?
- 3Shape Communicate and Exocad DentalShare are among the most widely used open systems
- Enable live design review, chat, and note exchange with the lab
- Most labs accept these formats due to their file integrity and nesting compatibility
- Allow for direct material assignment within the CAD workflow
These platforms suit clinics that value flexible lab integration and direct file control.
What Should Be Considered When Using Lab-Specific Portals or FTP?
- Custom portals may streamline logistics, but often lack real-time design feedback
- FTP (file transfer protocol) works for large scans but may introduce naming confusion or missing instruction risk
- Best when paired with structured case sheets or follow-up calls
Ideal for high-volume users who work with one lab and have standardized workflows.
How Do Email and Portal Submissions Compare for Veneer Cases?
| Method | Advantages | Drawbacks |
|---|---|---|
| Quick, easy for occasional users | No file tracking, prone to loss/confusion | |
| Portal Upload | Secure, structured, with metadata | Requires setup and occasional training |
For multiple-unit veneer cases, structured portals reduce miscommunication and improve lab alignment.
While all platforms can transfer a file, not all support the level of detail and traceability e.Max cases require.
Choose the platform that fits your lab relationship, CAD workflow, and design collaboration needs.
What Happens After Submitting a Digital e.Max Veneer Case?
Submitting a case file isn’t the finish line—it’s the start of collaboration. Once a digital e.Max veneer case reaches the lab, a series of internal checks, verifications, and approvals begins. Understanding what happens next helps clinics reduce communication lag, prevent fabrication delays, and align timelines more accurately.
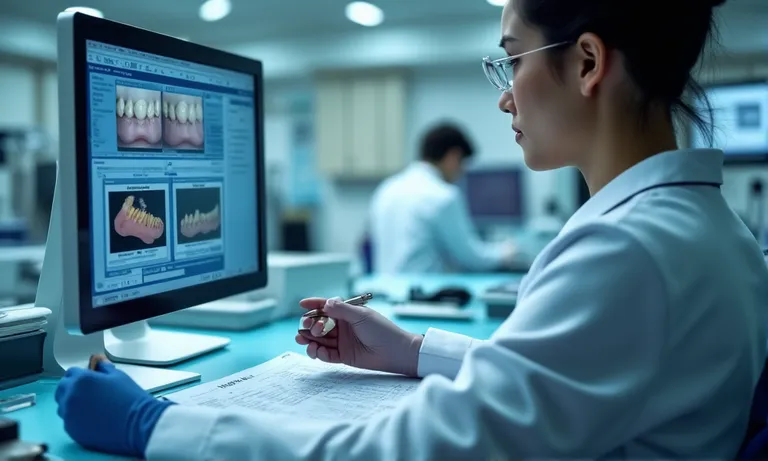
Dental-lab-digital-case-review-process
What Does the Lab Check During Initial File Review?
- Margin clarity and segmentation
- Bite alignment and opposing arch presence
- Material assignment compatibility
- Custom design notes (e.g., incisal translucency, mock-up reference)
If key elements are missing, the lab may pause processing and request clarification—delaying the timeline.
What’s the Typical Timeline for Design Approval and Changes?
- Initial review: within 12–24 hours of submission (lab-dependent)
- First design proposal: 24–48 hours for standard esthetic veneer cases
- Design modification cycle: same-day turnaround if feedback is prompt and structured
- Final approval needed before nesting, milling, or pressing begins
Design approval delays are one of the top reasons veneer cases miss delivery deadlines.
How Can You Communicate Design Modifications with the Lab?
- Use secure messaging inside CAD portals or email with clear reference screenshots
- Be specific: “reduce facial bulge at #9 mid-third” is better than “a bit too thick”
- Label feedback per unit number to avoid ambiguity in multi-unit designs
Structured communication saves rework and helps preserve intended esthetics.
What Is the Typical Timeline for Fabrication and Delivery?
| Process Step | Timeframe (Typical) | Notes |
|---|---|---|
| Post-approval fabrication | 3–4 lab days | Includes pressing or milling, finishing |
| Shipping to clinic | 2–5 days (region-based) | Expedited options available |
Most e.Max cases are completed within 7–9 working days from scan to seat, if files are clean and approvals are prompt.
✅ Submitting the file is only the first step in a multi-stage veneer workflow – TRUE
Labs must validate, design, get approval, and fabricate—each requiring input or response from the clinic.
❌ Once the file is submitted, the lab handles the rest without further input – FALSE
Ongoing feedback, timely approval, and clear communication directly impact delivery speed and final fit.
What Are Common Mistakes to Avoid in Digital e.Max Veneer Submissions?
Even with the best tools, digital submissions can fail due to human error. When working with precision ceramics like e.Max, small mistakes—like unclear margins or wrong material selection—can result in costly remakes or esthetic compromises.
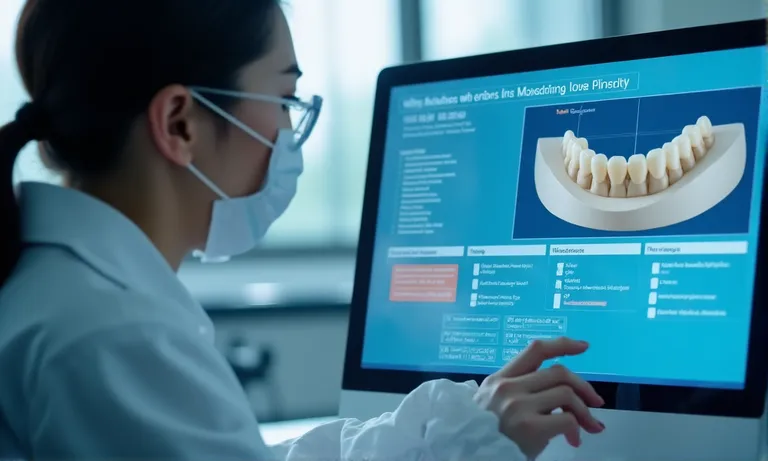
Common-digital-submission-errors-emax-veneers
Why Is Margin Visibility Crucial for Accurate Veneer Fit?
- Incomplete margin capture leads to overextended or underfilled margins
- Subgingival finish lines are often missed when retraction isn’t used properly
- Labs may be forced to guess or delay the case if the margin is unclear
Good scan quality without defined margins is still unusable for precision veneers.
How Can You Ensure Digital Files Are Complete and Functional?
- Missing bite scans or opposing arch data can cause contact issues
- Files compressed improperly (e.g., ZIP with renamed .stl) may not open
- Using non-native export formats or altering file types post-export often leads to corruption
A 5-minute file check saves days of remake turnaround.
How Does Incorrect Material Selection Affect the Final Outcome?
- Selecting zirconia or a monolithic preset when intending to fabricate e.Max will misguide design parameters
- The lab may fabricate the case with wrong thickness, translucency, or nesting location
- Even if the lab catches it, the approval process may reset
Always confirm the material and design intent match in both written notes and software presets.
Why Is Accurate Bite Data Important in Digital Veneer Cases?
- Veneers may seat perfectly in isolation but interfere when full occlusion is engaged
- Inaccurate or absent bite leads to posterior open contacts or premature incisal collisions
- Bite registration is as critical digitally as with physical models
Occlusal errors are harder to adjust after press/mill is completed.
✅ Most veneer submission issues are caused by preventable oversights in scan and file prep – TRUE
Margin visibility, correct material selection, and clean file packaging are the most frequent root causes of remakes.
❌ As long as the scan is high-resolution, the lab can work out the rest – FALSE
Without full context—bite, material, instructions—a sharp image still fails to deliver a precise restoration.
What Best Practices Help Streamline Future Digital Veneer Submissions?
Once a clinic adopts digital veneer workflows, consistency becomes the key to speed and accuracy. By applying a set of best practices across all e.Max cases, clinics reduce the likelihood of rework, ensure lab alignment, and save time for both teams.

Digital-veneer-submission-best-practices-checklist
How Do Standardized Protocols Improve Submission Accuracy?
- Unified steps reduce variation between different team members or locations
- Everyone follows the same scanning angles, bite registration steps, and file naming structure
- Labs can anticipate and prepare efficiently when submissions follow a consistent pattern
This is especially valuable for DSOs or group practices managing multiple doctors or locations.
What’s the Benefit of Using a Case Submission Checklist?
- Prevents omission of critical steps (e.g., shade photo, opposing scan, Rx form)
- Helps new staff learn correct submission standards quickly
- Reduces back-and-forth communication and correction cycles with the lab
A 1-page checklist can reduce remake risk by over 50% in digital workflows.
How Can AI Tools Help Improve Margin Accuracy?
- Some scanners and CAD software include auto-margin detection with validation alerts
- AI can highlight scan gaps, undercuts, or potential design conflicts
- Clinics using AI-assisted workflows often experience faster design approvals from labs
AI doesn’t replace technician judgment—but it reinforces good scanning habits.
How Do Case Templates Save Time and Improve Consistency?
- Pre-loaded digital Rx templates allow doctors to select veneer case options in seconds
- Design instructions, material settings, and delivery preferences can be saved as defaults
- Eliminates redundant manual inputs and ensures standard communication each time
Templates are especially helpful for recurring cases like 6–8 unit anterior designs.
Digital success isn’t just about having the right tools—it’s about using them consistently and intelligently.
You can request our free submission checklist or explore digital Rx templates to standardize your next e.Max veneer case with confidence.
Conclusion
A successful e.Max veneer submission starts before the scan and ends only after approval—it’s a fully coordinated, detail-driven process between clinic and lab.
- Planning file completeness and lab-readiness before you upload reduces miscommunication and speeds up production — revisit the submission mindset.
- Capturing clear margins, bite relationships, and full-arch scans helps labs produce precise restorations — review the scanning requirements.
- Including photos, shade tabs, and case notes bridges the gap between scan data and esthetic intent — see case documentation.
- Assigning the right material and design settings in CAD software ensures proper milling and pressing — learn about CAD preparation.
- Choosing a compatible portal or submission method avoids file loss and improves tracking — explore submission platforms.
- Knowing what labs check post-upload helps clinics align on expectations and timelines — understand lab review steps.
- Standardizing submission protocols with templates and checklists reduces rework and speeds up every case — apply best practices.
Want to eliminate remakes and speed up your e.Max veneer workflow? Connect with Raytops Dental Lab for digital submission templates, checklist guides, and personalized support.